
DIY Christmas Greeting Cards: Easy, Affordable, and Beautiful Holiday Ideas
Discover simple and festive ways to craft your own Christmas greeting cards using everyday materials. From layered paper trees to painted bulbs and stencil designs, these easy DIY projects will help you spread joy and creativity this holiday season. Perfect for all ages and skill levels!
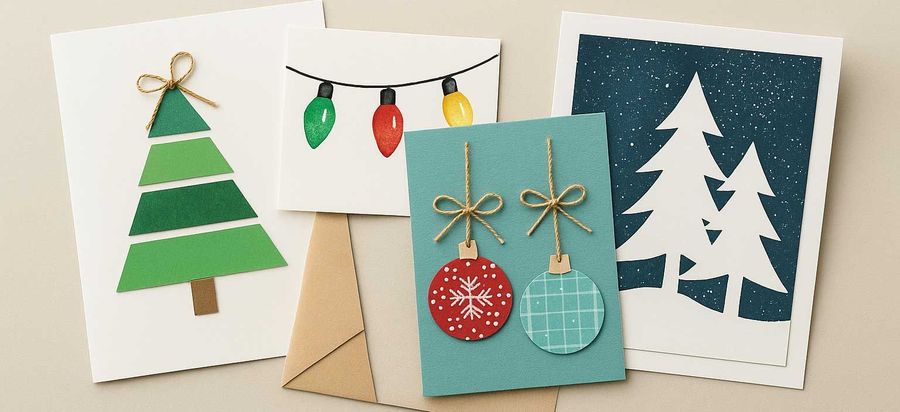
I will now present you with some ideas for making Christmas cards that are easy to make, made from materials accessible to everyone, inexpensive and effective.
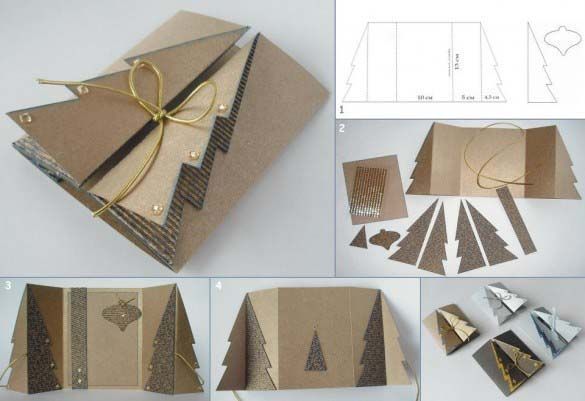
For the first project, you only need thin cardboard of different shades and textures (of course, the variations in colors and textures of the cardboard can be countless), a piece of paper of the same color as the cardboard, a bit of gold string, glue and some decorative beads (all of which can be combined in countless other ways).
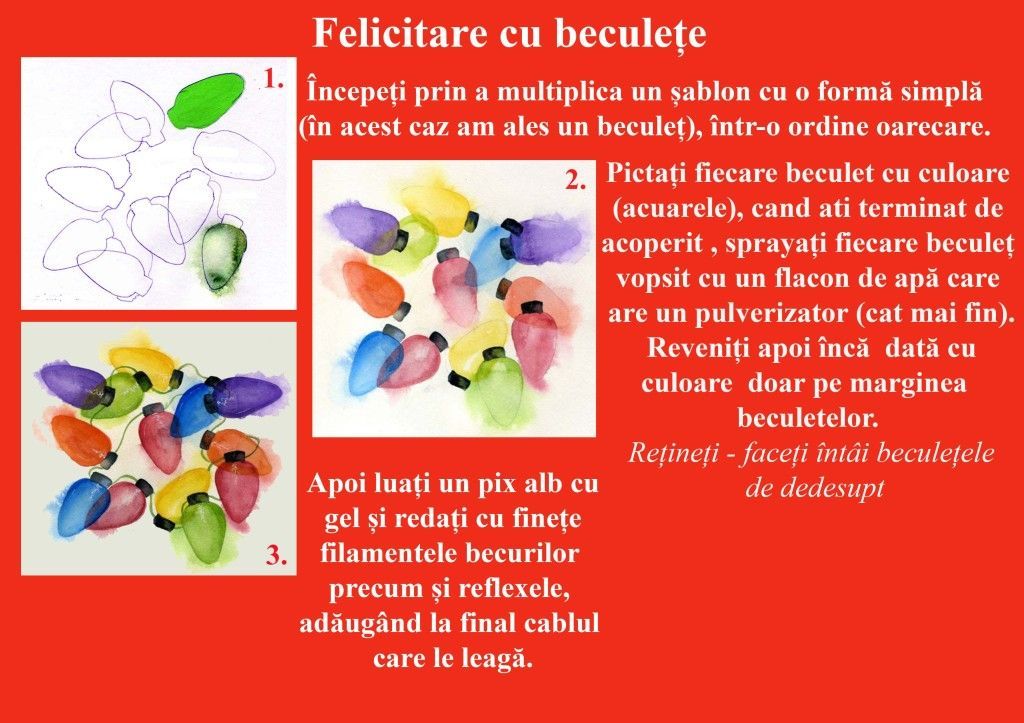
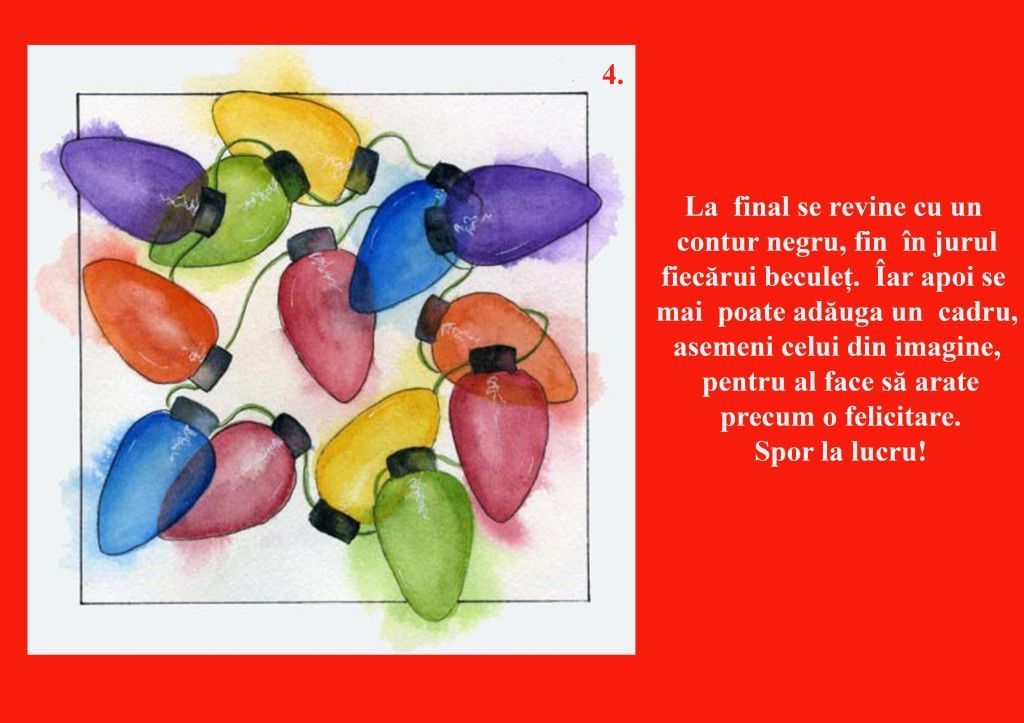
The next greeting card project involves a bit of painting, but in a few simple steps anyone can create a special handmade greeting card.
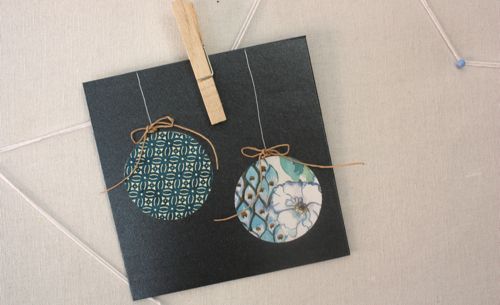
The idea of globes is often represented on greeting cards, here's how you can do it very simply:
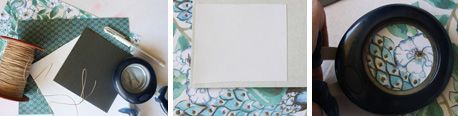
You need two types of sticker paper with different patterns, a cardboard in one color (possibly with a bit of texture), scissors, a round shape (with which to cut out the globe shapes) and decorative string.
2. Then glue the two shapes onto the cardboard. Punch two holes above the two globes and insert the decorative strings, then tie them with bows.
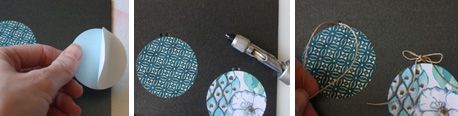
3. Finally, draw the strings of light bulbs with a white gel pen. Good luck!!!
This last project is a bit more complex, but the end result is special. We will use the stencil technique here (a technique that I explained in another article), that is, a mold (a model) over which we will spray paint.
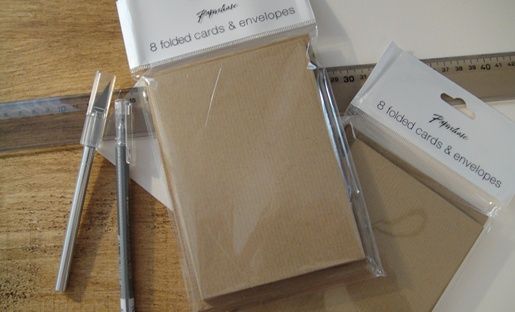
To begin with, you need a model, which can be anything, however simple, cardboard (in stores there are specially cut ones for greeting cards) paper, decorative spray, a special knife for decorations and a ruler.
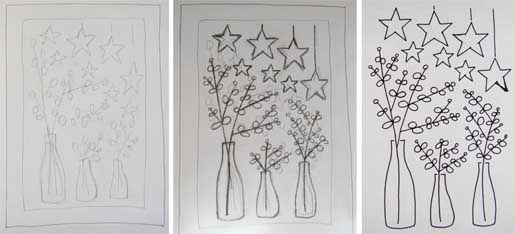
Then proceed to cutting out the template.
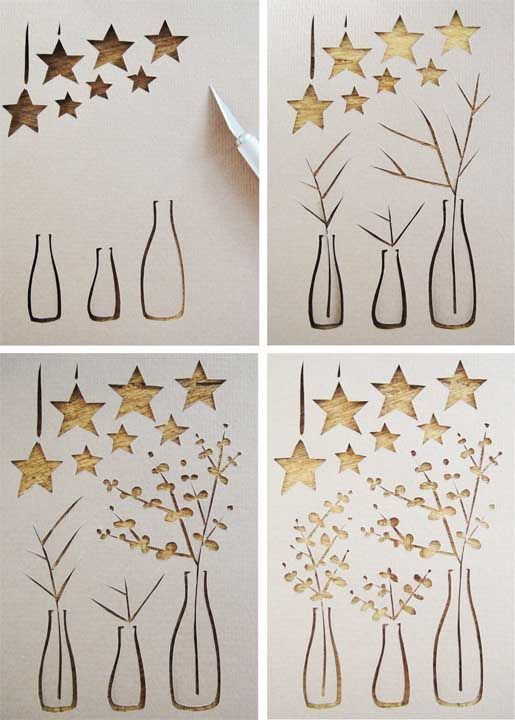
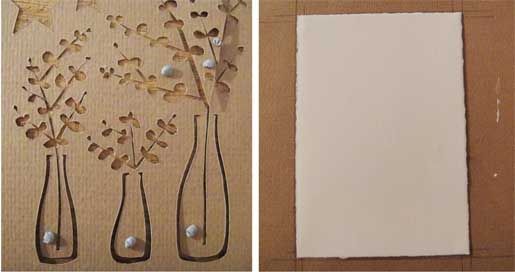
3. Stick the template on the final paper and spray it (be careful where you work!!! The spray makes a lot of mess around).
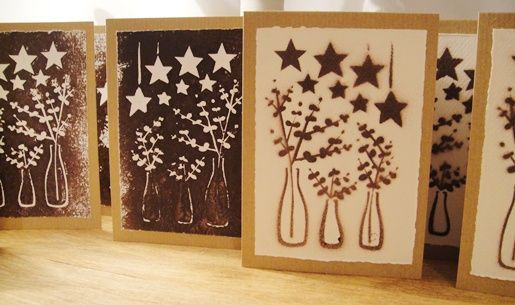
4. Here is the result, and if you also stick paper on the sprayed side of the template you will get the reverse of the image in the template.
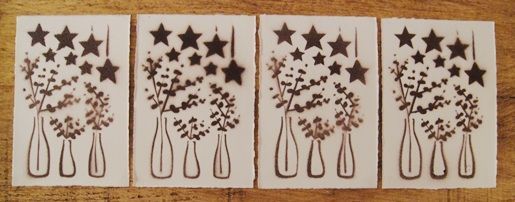
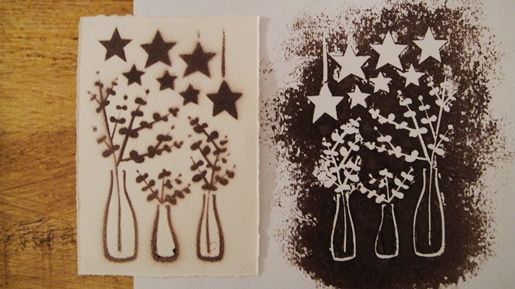
5. The final step is to stick the paper over the final cardboard of the greeting card. Cut the paper so that there is a border around the greeting card like a passé-partout.
Tags
- handmade cards
- diy christmas cards
- holiday decor
- creative projects